|
|
|
|
Classic Bikes
Custom Bikes
Individual
Racing Bikes AJP
AJS
Aprilia
Ariel
Avinton / Wakan
Bajaj
Benelli
Beta
Bimota
BMW
Brough Superior
BRP Cam-Am
BSA
Buell / EBR
Bultaco
Cagiva
Campagna
CCM
CF Moto
Combat Motors
Derbi
Deus
Ducati
Excelsior
GASGAS
Ghezzi Brian
Gilera
GIMA
Harley Davidson
Hero
Highland
Honda
Horex
Husaberg
Husqvarna
Hyosung
Indian
Jawa
Kawasaki
KTM
KYMCO
Laverda
Lazareth
Magni
Maico
Mash
Matchless
Mondial
Moto Guzzi
Moto Morini
MV Agusta
MZ / MuZ
NCR
Norton
NSU
Paton
Peugeot
Piaggio
Revival Cycles
Roland Sands
Royal Enfield
Sachs
Sherco
Sunbeam
Suzuki
SWM
SYM
Triumph
TVS
Ural
Velocette
Vespa
Victory
Vincent
VOR
Voxan
Vyrus
Walt Siegl
Walz
Wrenchmonkees
Wunderlich
XTR / Radical
Yamaha
Zero
Video
Technical
Complete Manufacturer List
|
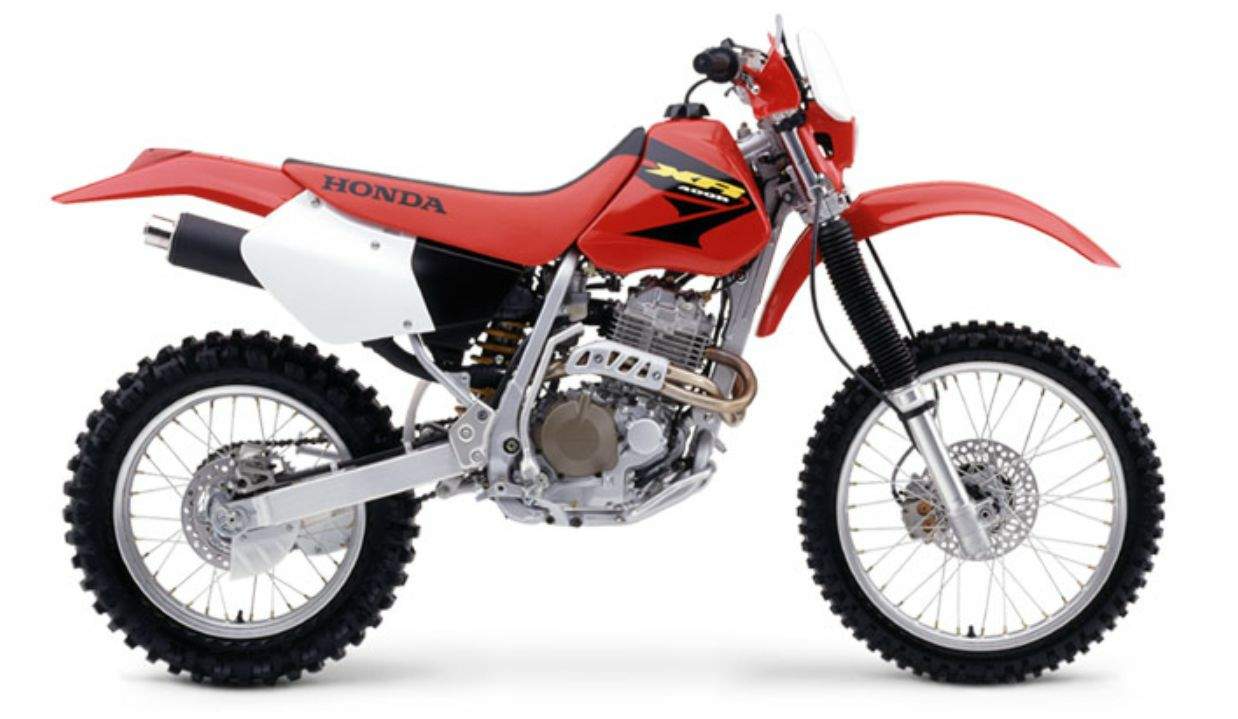
Honda XR 400R
The XR range of trail bikes has served Honda long and well,
with the 250 and then the 400 topping the sales charts until Yamaha took up the
challenge with the WR 400/426/450. The CRF model range has now moved in to fill
the void, a harder edged type of bike than the XR, with higher performance,
electric start and water cooling. Many a rider has a tale to tell of faithful
service from an XR, but since the last ones rolled out of the showrooms in '05,
your only chance of getting one now is on the secondhand market. XRs like regular oil and filter changes. Oil works hard in an air-cooled engine
so regular changes are cheap insurance for a long and trouble free run. When
checking out a used XR, ask the owner what oil is in it, and what oil was used
to run it in. Honda recommended running-in the XR400 on mineral oil for at least
1000 kays before switching to a semi-synthetic oil. Using a full synthetic for
running-in can glaze the bore and cause excessive oil use, but a hone can
correct this.
|
|
|
Any corrections or more information on these motorcycles will be kindly appreciated. |